How to properly load tape into a dispenser? A step-by-step guide

In this guide, we show you how to load tape into a dispenser to make its use quick, convenient, and trouble-free.
What is a dispenser and why is it worth using?
A tape dispenser is a practical tool that significantly facilitates and speeds up work with tape – in the office, warehouse, and at home. It is a special holder/device with a cutting mechanism, into which a roll of tape is inserted, making its application more convenient and precise.
Why use a dispenser?
- Speed and convenience – a dispenser allows you to measure and tear off the appropriate length of tape with one motion, without the need to search for its end or use scissors.
- Precision – the tape does not twist or stick to itself, allowing it to be evenly applied to cardboard, film, or other material.
-
Economy – controlled dispensing prevents tape waste.
Safety – many models have safeguards that protect fingers from the blade. - Work organization – a dispenser helps maintain order at the packing station, especially with a larger number of shipments.
Dispensers come in various versions – from lightweight office models to robust warehouse devices – allowing them to be adapted to individual needs.
How to load tape into a handheld dispenser – step-by-step instructions
1. Prepare the dispenser
First, check that the device is clean and ready for use. Remove any remnants of the previous roll, if they are still there. Pay attention to whether the mechanisms are operating smoothly and if the cutting blade is sharp.
2. Match the tape
Ensure that the tape's width and diameter match your dispenser model. The Dalpo store offers a wide selection of tapes that work perfectly with handheld and desktop dispensers – both classic packaging tapes, and ecological, paper tapes.
3. Place the roll in the guide
Insert the tape into the dispenser so that it unwinds from the bottom of the roll towards the blade. The roll should rotate freely – this is essential for smooth operation. Remember not to let it twist or get stuck.
4. Thread the tape through the guides
Each dispenser has a different way of guiding the tape – in some models, you need to pull it through a slot, in others, it's enough to lead it directly over the blade. If in doubt, refer to the instructions or look for markings on the device casing.
5. Adjust the tension (if applicable)
Some dispensers allow for adjusting the tape unwinding force. Adjust it so that the tape is neither too loose nor too tight – the right resistance will facilitate precise dispensing.

Loading tape into other dispensers
Handheld dispensers are the most common, but depending on the work environment and type of tape, other solutions can also be found: desktop, automatic, or those designed for paper tapes. Each of them works slightly differently and requires a different approach to loading the tape.
Desktop dispenser
Most often found in offices and service points – this is an easy-to-use model that allows for convenient use of thin office tapes.
How to load tape into a desktop dispenser?
- Remove the spindle from the housing.
- Place the tape roll on the spindle – the adhesive should face outward, towards the blade.
- Put the spindle back in place.
- Pull the end of the tape over the serrated blade and press down.
Automatic dispenser
Used primarily in logistics and manufacturing, where speed and repeatability are important. It automatically measures and cuts tape sections of a specified length.
Loading tape into an automatic dispenser:
- Open the device cover. Place the tape roll in the loading compartment, according to the markings inside.
- Thread the tape through the guides or rollers – usually, there is a diagram inside that shows the correct direction.
- Close the cover and start the device – if everything works correctly, the dispenser will automatically dispense the first section of tape.
-
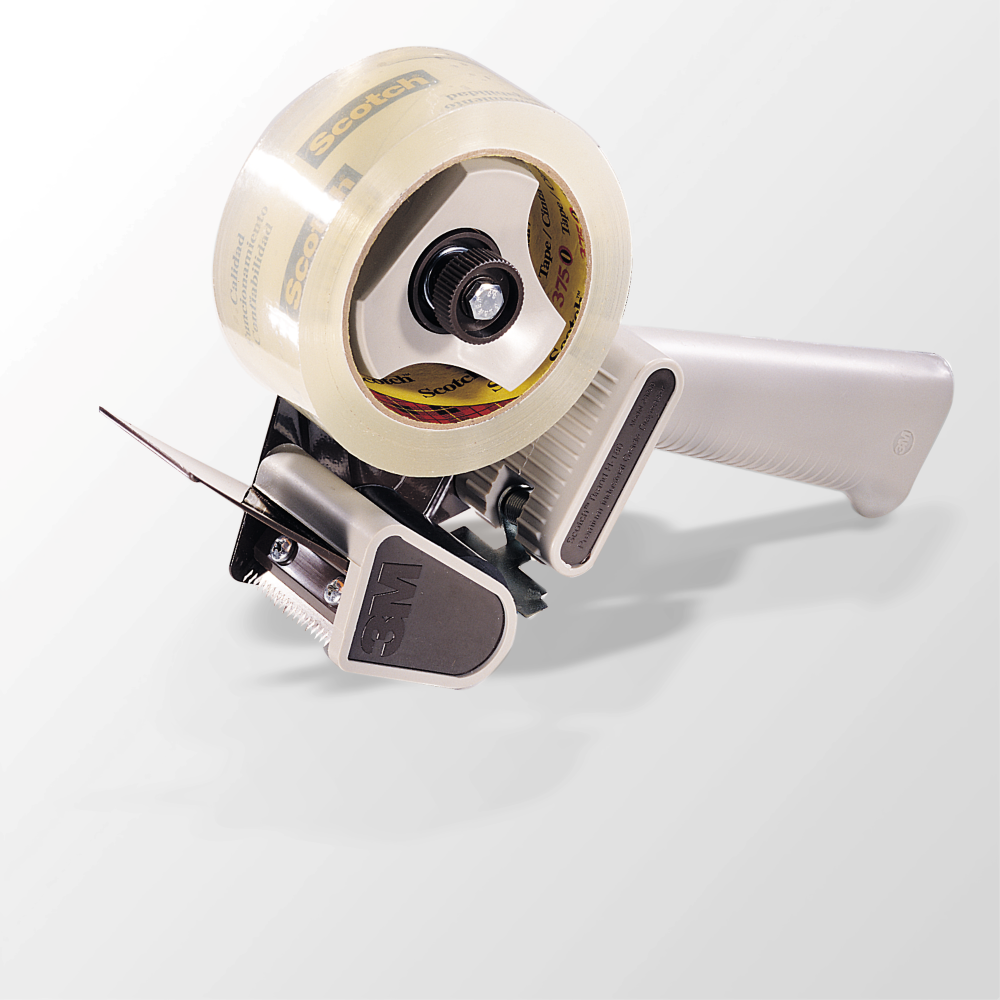
Scotch® H180 50mm Packaging Tape Dispenser
fromnetto52,46 zł -
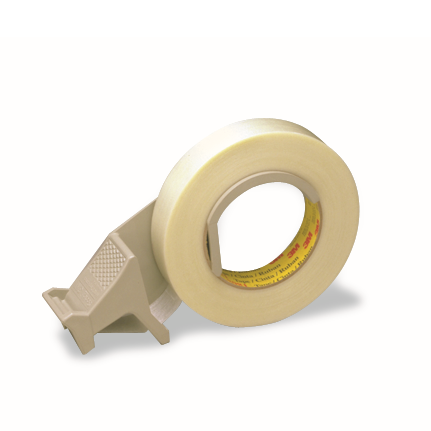
Scotch® Reinforced Tape Hand Dispenser H10
fromnetto72,54 zł -
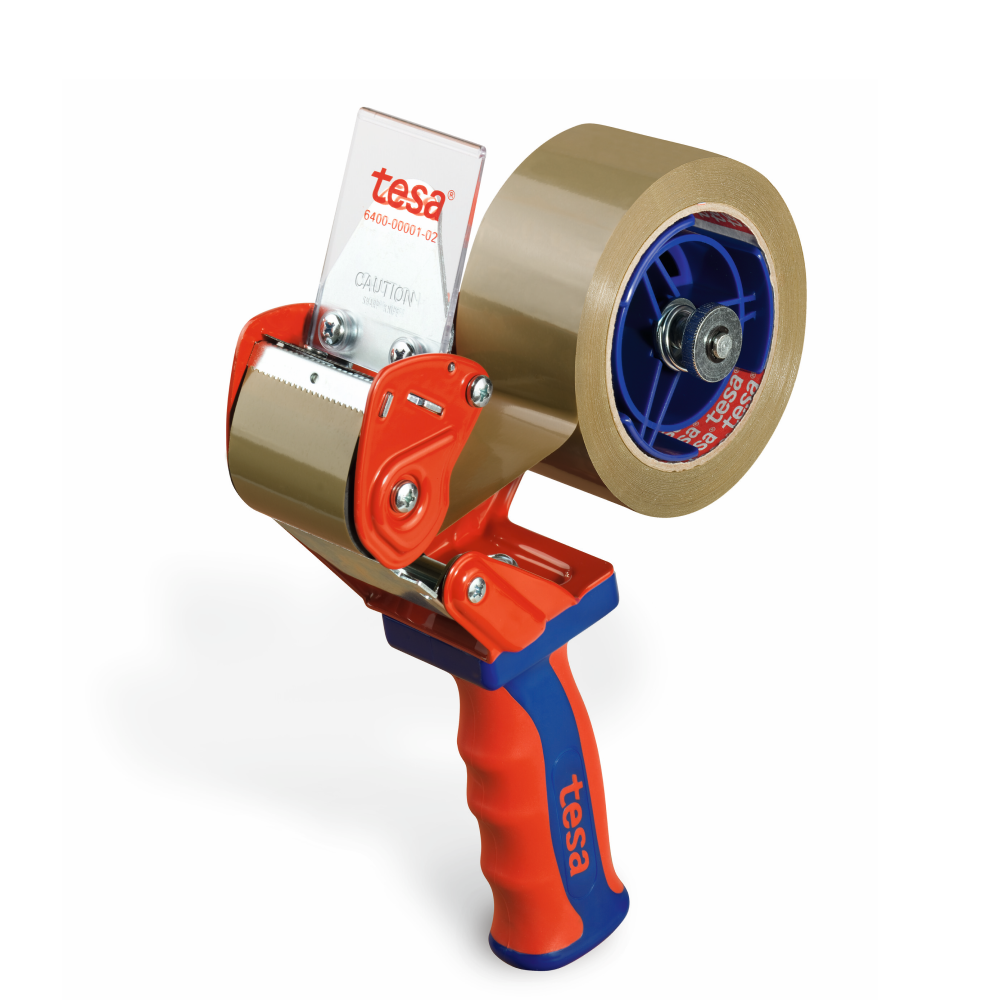
tesapack 6400 Manual Dispenser for 50mm Packaging Tape
fromnetto63,08 zł